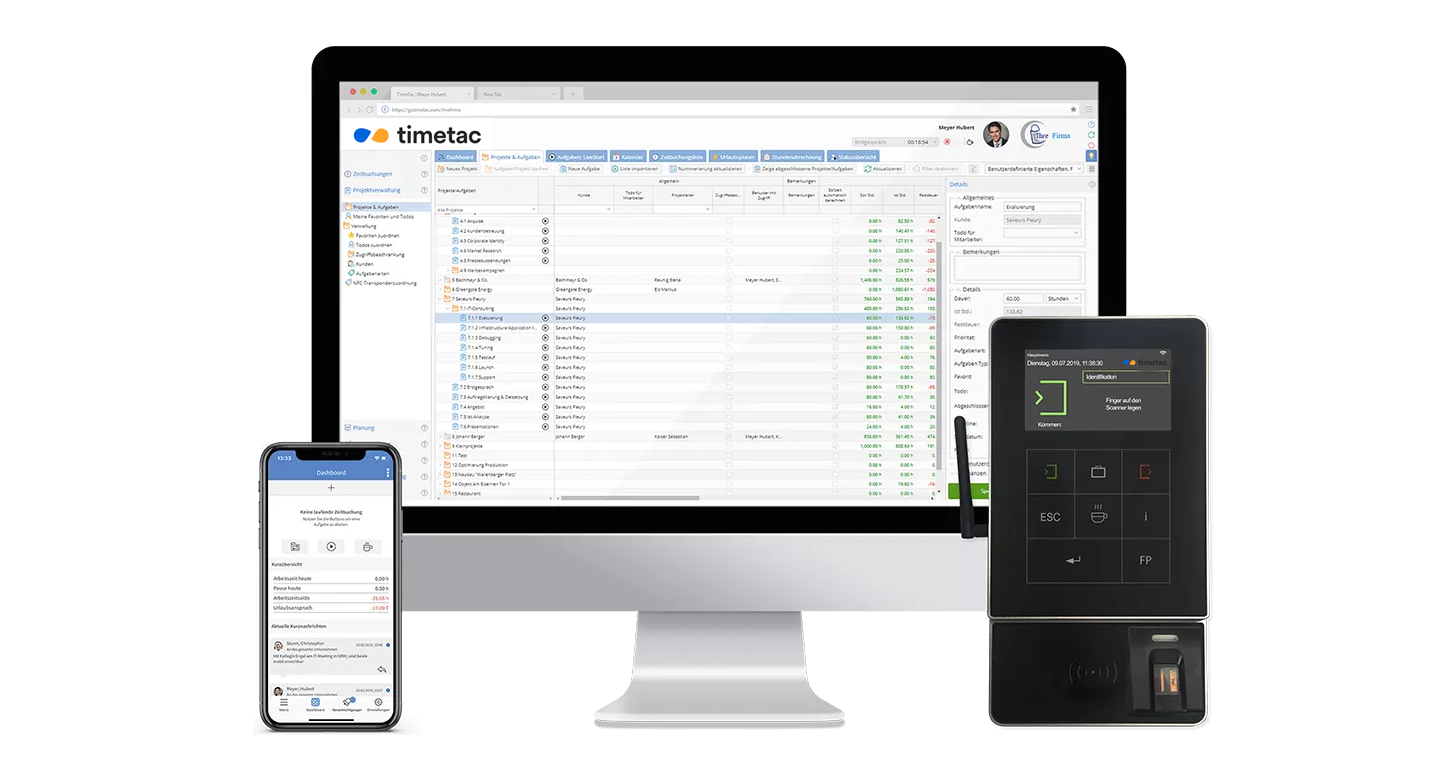
New: Implement Single Sign-on for TimeTac Yourself, Without a Support Request
by Magdalena Fladl, 23.03.2022
TimeTac has been offering you the possibility to configure Single Sign-On as an authentication method for your TimeTac account for quite some time. From now on, you can do the implementation yourself, without the help of our support team, and save yourself the waiting time. We have created self-explanatory tutorials for you, which will guide you through the process step by step. If questions should arise, we are happy to assist you as usual.

Configure Single Sign-on in TimeTac on Your Own
Single Sign-On (SSO) enables your employees to authenticate only once for different services and programs. On the one hand, this increases security if employees do not have to use individual password combinations. On the other hand, it is convenient if your employees only have to log in once with one set of credentials to gain access to all applications in the company.
Implementing SSO
TimeTac currently supports SSO configuration for all SAML 2.0 compliant identity providers. If you want to use Azure or Google as an identity provider, you can find detailed documentation in English in our knowledge base. Additional documentation for Jumpcloud and Okta is planned. Proceed as follows:
1. Create a TimeTac application in your identity provider
To enable SSO for your TimeTac account, you must create a TimeTac application within your identity provider. For SAML configuration, you need to set the Identifier field (Entity ID) and the Reply URL (ACS URL) and define a Unique User Identifier.
2. Set up SSO in TimeTac
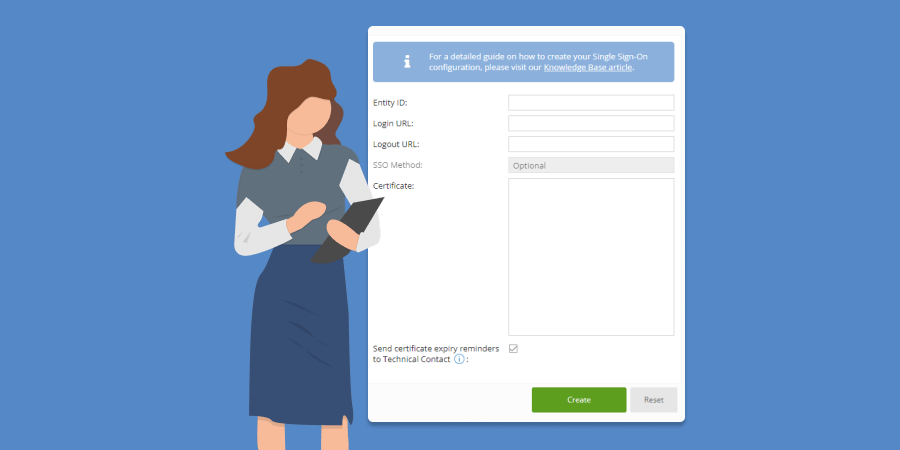
Log in to your TimeTac account as a manager and go to Account Management. In the “SSO Configuration” section, you can then perform the implementation by filling in all the service provider details provided by your Identity Provider. After the configuration, enable SSO as an optional login method.
SSO Login Optional or Required
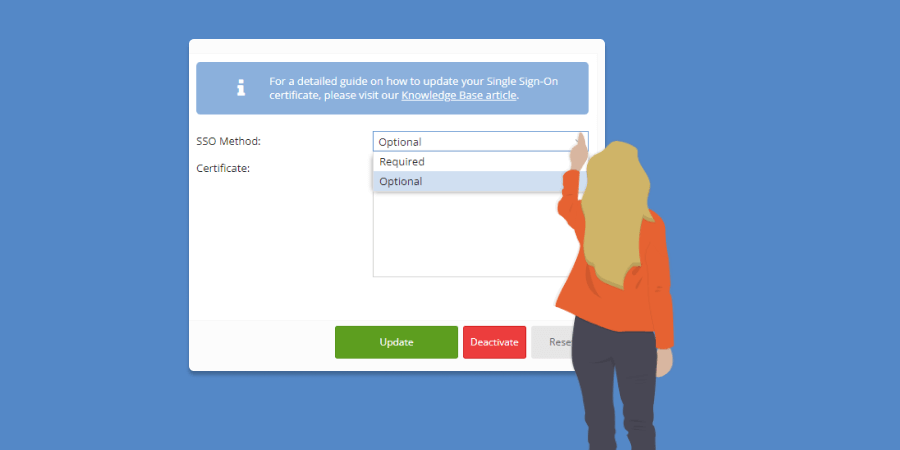
Once you have successfully set up and tested SSO, you can choose to make SSO optional or mandatory for your employees. If you select the required login, your employees can only log in via SSO. However, logging in with the TimeTac credentials is then no longer possible.
Update the SSO Certificate
Once you have enabled Single Sign-On for your TimeTac account, there is a regular exchange of the security certificate between TimeTac and your identity provider. This certificate ensures secure communication between TimeTac and your identity provider.
To avoid service interruptions, you need to ensure that this certificate is always valid and renewed on time before it expires. You can let TimeTac remind you via e-mail.
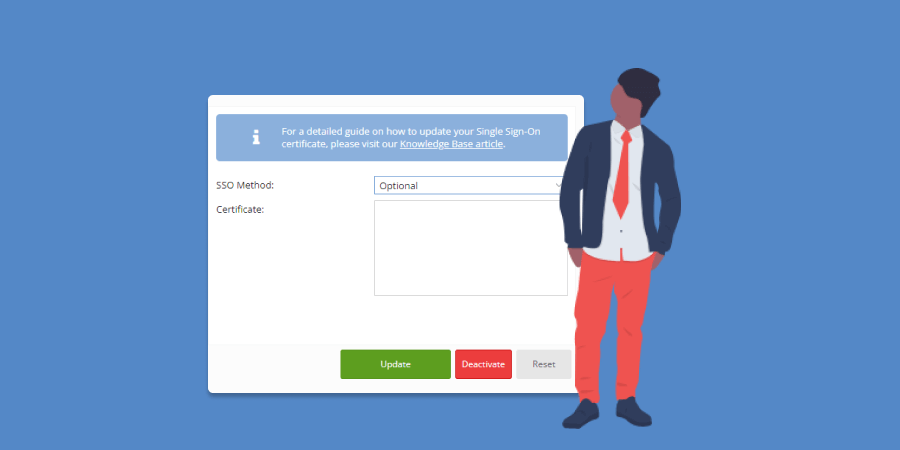
Configure SSO yourself with our user-friendly tutorials without relying on our support. Specify whether your employees must use SSO as an option or a requirement to log in to TimeTac and renew the certificate yourself when it expires. TimeTac will gladly remind you of the expiration date
This all sounds complicated to you anyway? If you don’t want to or can’t implement SSO in TimeTac on your own, our support team will be happy to help you as usual.
Set Up SSO for TimeTac Step by Step
You will find all the instructions to configure SSO on our knowledge base.
Set Up SSO for TimeTac Step by Step
Knowledge-BaseYou will find all the instructions to configure SSO on our knowledge base.

